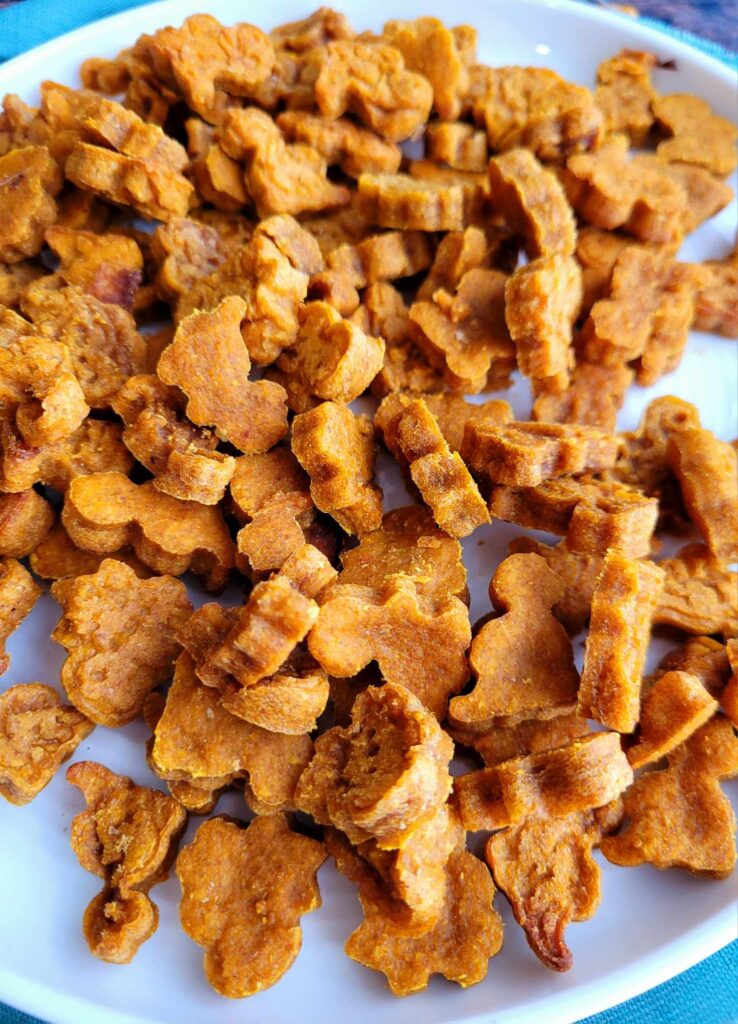
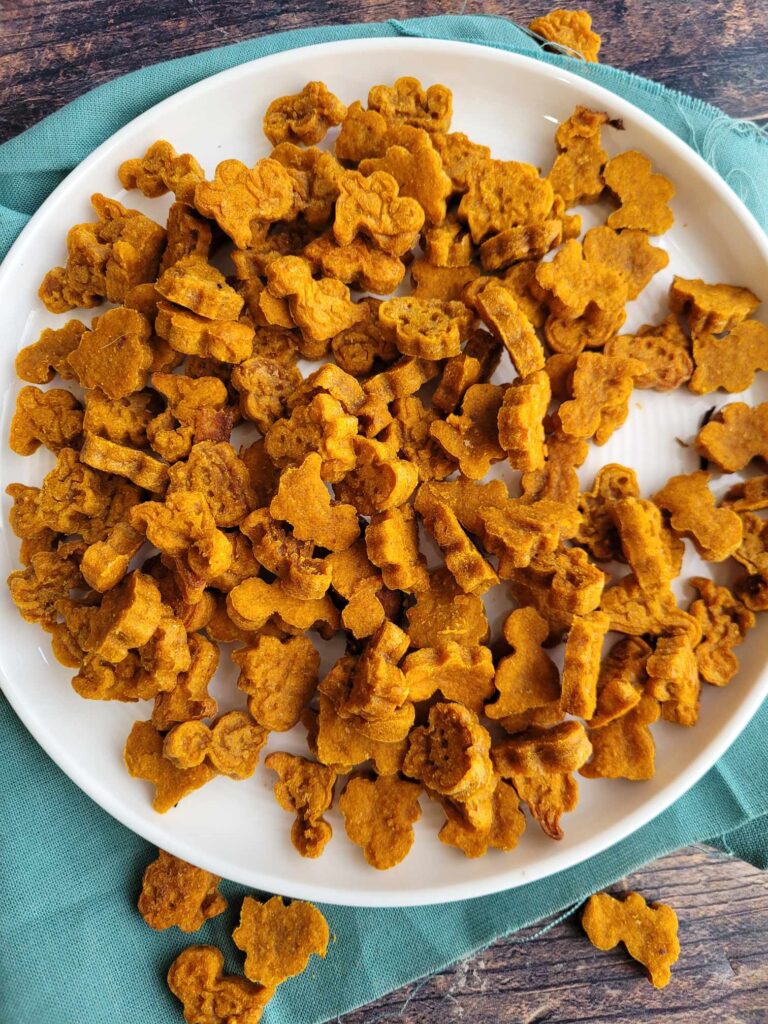
Pumpkin Dog Training Treats
Pumpkin Dog Training Treats are simple, healthy, and perfect for rewarding your dog. Soft, homemade bites packed with flavor and pup-approved—because good dogs deserve the best rewards.
Pumpkin Dog Training Treats
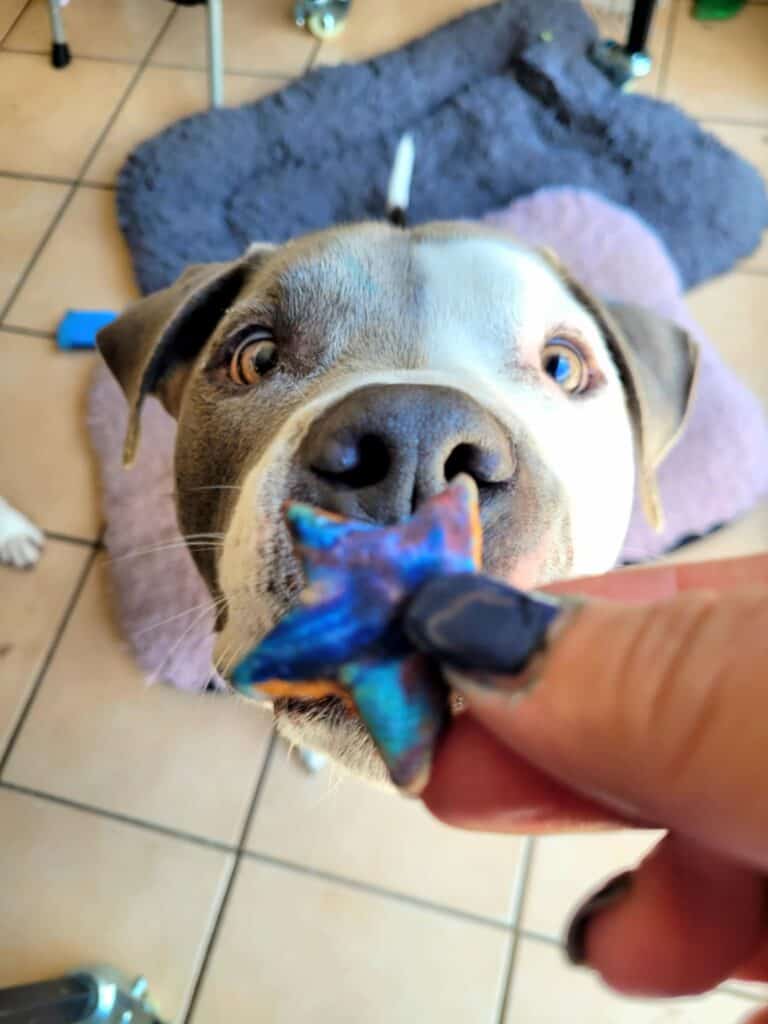
If your dog is anything like mine, they’ll do just about anything for a tasty treat. Sit? Done. Roll over? Easy. Pretend they didn’t just steal your sock? Maybe… (so many socks lost!!)
But the real magic happens when you have the perfect treat—one that’s not just delicious but also homemade with love.
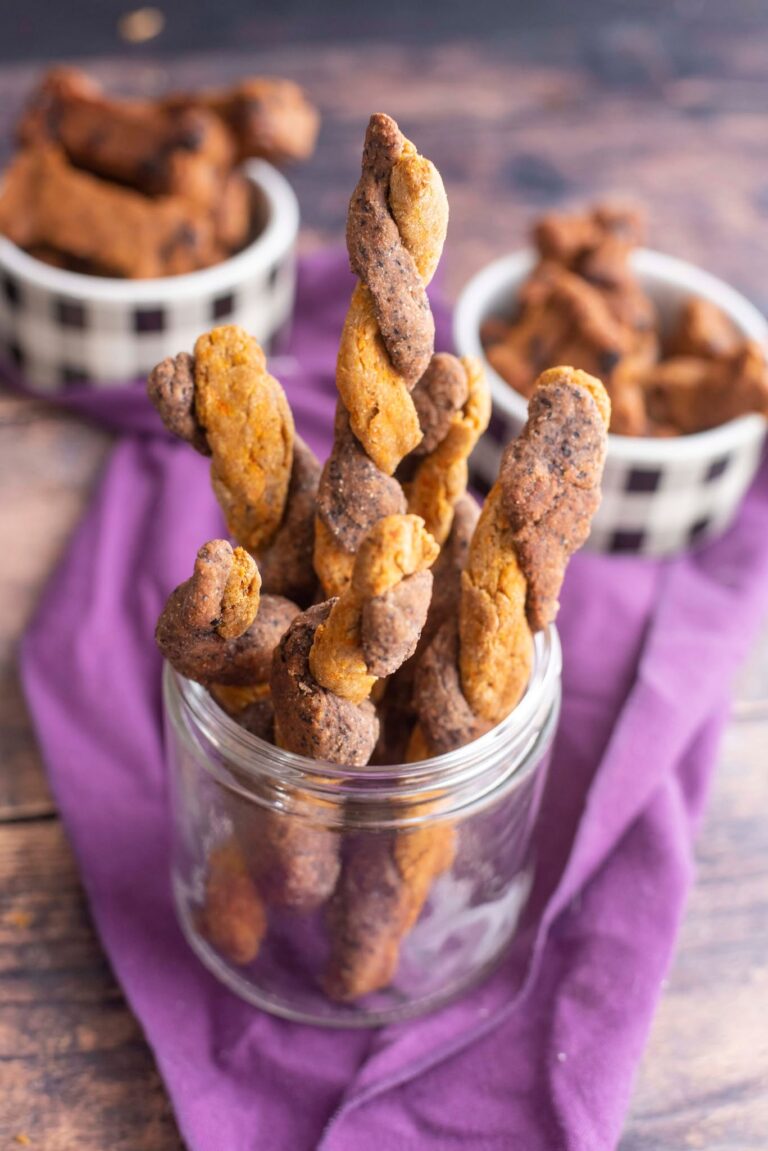
Enter: Pumpkin Dog Training Treats! These little bites are packed with flavor, super easy to make, and full of healthy ingredients that will have your pup begging (politely, of course) for more. Want to see more easy baked dog treats for your favorite pup? Don’t forget to check out my Blueberry Twist Dog Treats and my Baked Peanut Butter Banana Dog Biscuits!
Why Make Your Own Dog Treats?
Store-bought treats are great and all, but homemade ones? Even better! Here’s why:
- Healthier ingredients – No weird chemicals or mystery stuff, just real food!
- Budget-friendly – Save money while spoiling your pup.
- Super simple – If you can mix and bake, you can make these!
- Soft and Chewy – These treats have a softer texture, making them ideal for senior dogs or pups with sensitive teeth.
Ingredient Benefits & Substitutions
- Pumpkin puree – Great for digestion and full of fiber, but if you don’t have pumpkin, you can use mashed sweet potato instead.
- Peanut butter – A tasty source of protein and healthy fats, but always choose xylitol-free! If your pup has a peanut allergy, swap it for almond butter, sunflower seed butter, or even plain mashed banana.
- Whole wheat flour – Adds fiber and structure, but for a grain-free option, oat flour or coconut flour works well.
- Unsweetened applesauce – Applesauce not only binds the ingredients but also adds moisture and a touch of natural sweetness, making the treats even softer—perfect for senior dogs!
What You’ll Need:
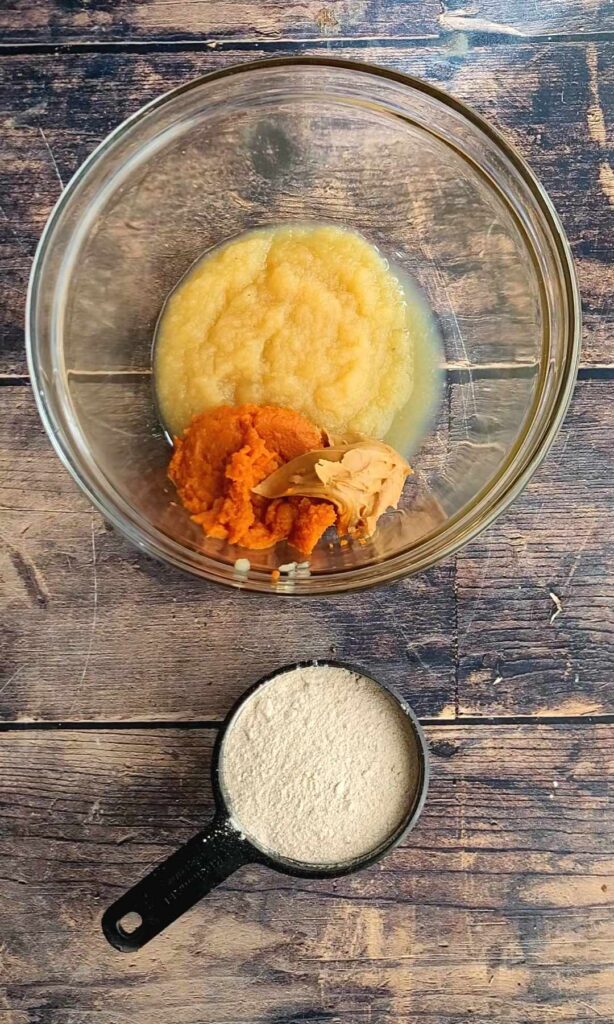
- 1/4 cup pumpkin puree (or sweet potato)
- 2 tablespoons peanut butter (or almond/sunflower seed butter)
- 3/4 cup whole wheat flour (or oat/coconut flour)
- 1/2 cup unsweetened applesauce
How to Make These Tail-Wagging Treats:
- Preheat your oven to 350°F (because no one likes waiting for snacks!).
- Mix it up! Stir together the pumpkin, peanut butter, and applesauce in a bowl until it looks smooth and delicious (but resist the urge to taste—it’s for the dog!).
- Add the flour a little at a time until it forms a dough. If it’s too sticky, add a little more flour.
- Choose your shaping method:
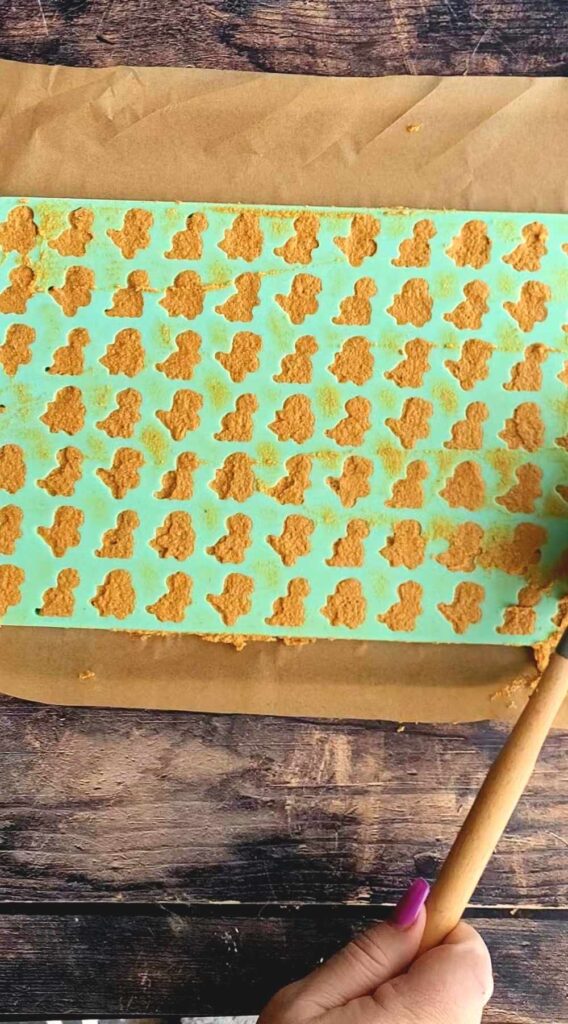
- If using a silicone mold, fill the mold openings using a silicone spatula or spoon since this training treat recipe has a pretty loose consistency.
- No mold? No problem! Simply grab an old school ice cube tray and use that instead. (more options listed below)
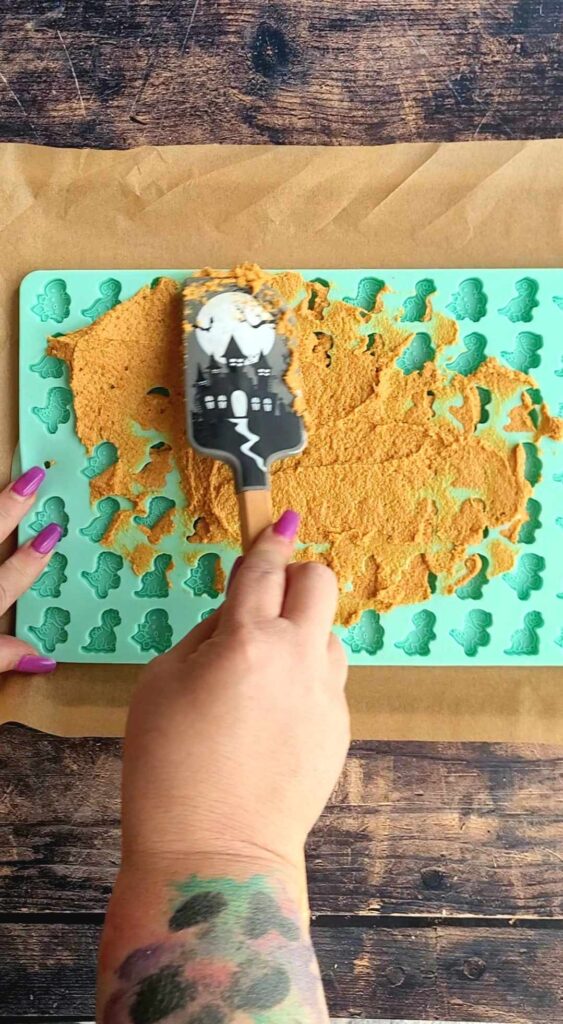
- Clean Up Mold – Once your silicone cavities are filled, use the side of the spatula to clean off any excess batter off the surface of the mold.
- Bake for 20-25 minutes until they’re golden brown and slightly crisp on the outside but still soft inside.
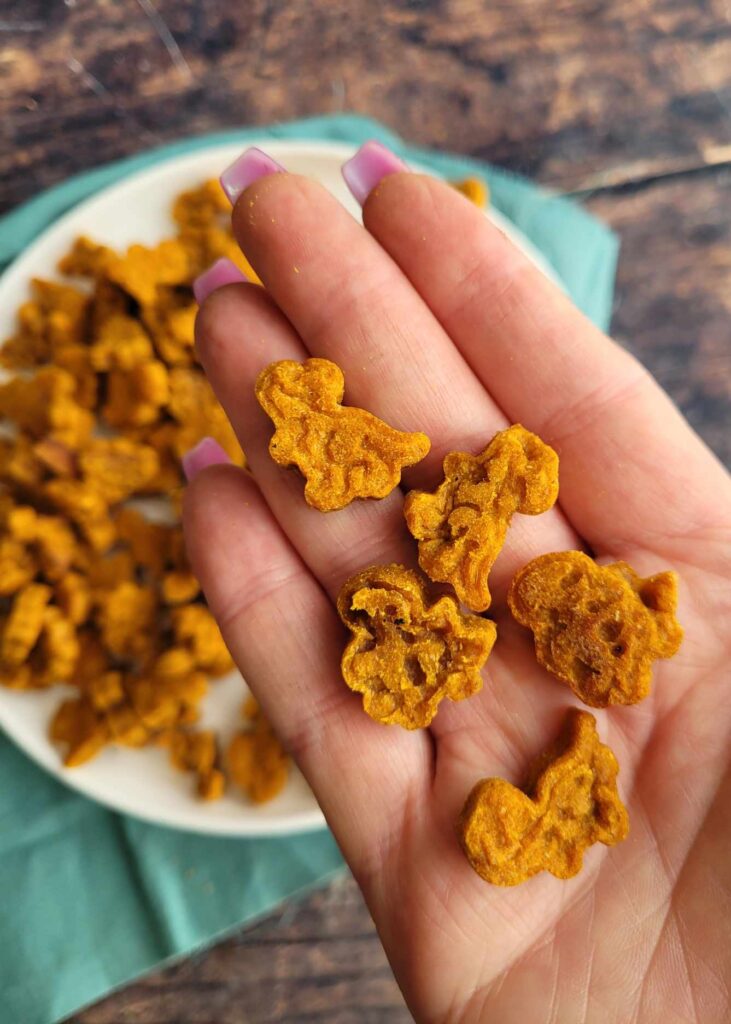
- Cool completely before letting your pup taste-test. Expect immediate requests for more!
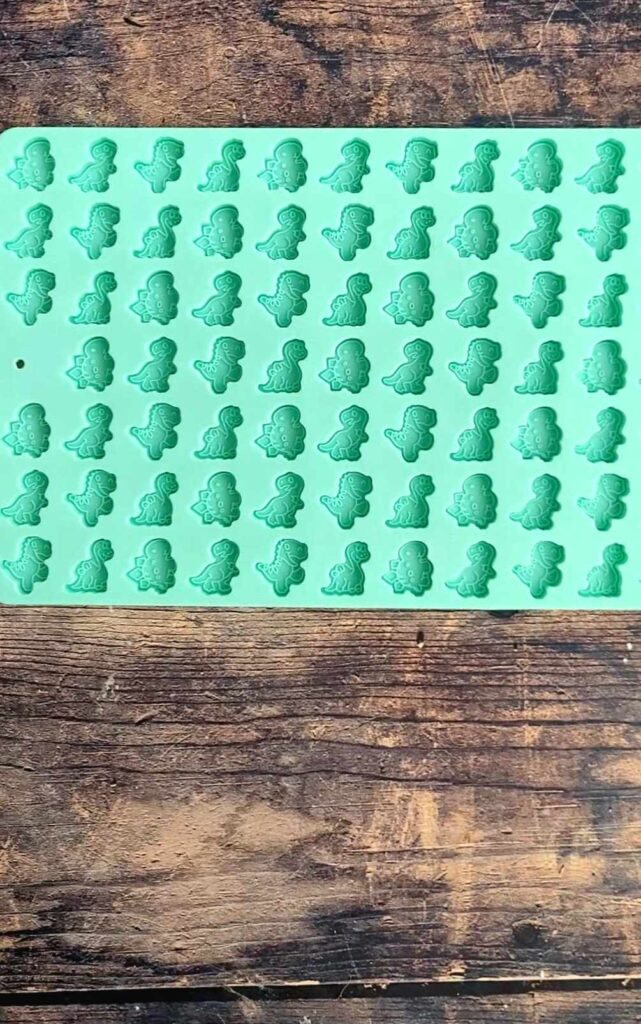
*** FYI – The silicone mold I used are shaped like super cute little dinosaurs and they come 2 to a pack. This recipe filled both trays perfectly so I ended up with 145 of these cute little dino training treats for my pups from this exact recipe.
Fun Recipe Variations
Want to switch things up? Try these fun variations to customize your pup’s treats:
- Cheesy Delight – Add ¼ cup shredded cheese for an extra-savory flavor.
- Carrot Crunch – Mix in ¼ cup finely grated carrots for added texture and nutrients.
- Berry Boost – Toss in a handful of blueberries for a natural antioxidant boost.
- Minty Fresh – Add a teaspoon of dried mint or parsley for fresh breath.
- Coconut Craze – Swap out the flour for coconut flour.
Common Mistakes to Avoid
Baking for your pup is easy, but here are some common mistakes to watch out for:
- Overbaking – These treats are meant to be soft! If you bake them too long, they’ll turn crunchy.
- Using the wrong peanut butter – Always check for xylitol, which is toxic to dogs.
- Too much flour – Adding too much flour can make the batter dry and too thick to bake properly.
Tips for Making the Recipe:
- Don’t Overmix: Overmixing can lead to tough treats. Mix just until the ingredients are combined and the dough comes together.
- Avoid Overbaking: These treats are designed to be soft! Bake for 20-25 minutes until they’re golden on the outside but still soft inside. If you leave them in too long, they’ll get crunchy, which is not ideal for pups with sensitive teeth.
- Cool Completely: Let the treats cool completely before giving them to your dog. This helps them firm up and ensures they hold their shape when you remove them from the mold or tray.
- Adjust for Your Dog’s Size: If you have a small dog, make sure to shape the treats into smaller, bite-sized pieces. For larger dogs, you can make them a little bigger, just keep the texture soft.
- Check for Ingredients Your Dog Can’t Have: Always make sure that your peanut butter is xylitol-free (xylitol is toxic to dogs) and avoid using any added sugars or artificial sweeteners.
- Get Creative with Mix-ins: Add some extra flavor with cheese, carrots, or even a bit of dried mint. Just make sure any add-ins are safe for dogs!
- Freezing for Long-Term Storage: If you want to make a big batch, freeze the treats! Once they’ve cooled, store them in an airtight container in the fridge for up to a week, or freeze them for up to a couple of months.
By following these tips, you’ll ensure that the treats turn out tasty, soft, and perfect for your pup!
Training Time!
Now that you have these delicious homemade dog treats, it’s time to put them to good use! Use them for training, rewarding good behavior, or just because your furry friend deserves a little extra love.
Storage Tips
These treats stay fresh in an airtight container for about a week, or you can freeze them for longer-lasting bribery—I mean, training!
Silicone Mold Alternatives
If you’re looking for an alternative to a silicone mold and your treat batter is too thin to roll and shape into an actual dog cookie, an ice cube tray can definitely work! Here are a few other options you can use when making different types of recipes that call for a mold:
- Ice Cube Tray – Perfect for small, bite-sized treats. Just pour the batter into the tray, fill each compartment, and freeze. Most ice cube trays are made of plastic so skip the oven.
- Mini Muffin Tin – This works just as well as a silicone mold and can give you a slightly thicker treat. Just grease the tin to ensure easy removal.
- Cookie Cutters – If you don’t have a mold, simply roll out the dough on a parchment paper-lined baking sheet and use cookie cutters to create fun shapes. This works best if your dough is firm enough to hold its shape.
- Mini Cupcake Liners – If you have mini cupcake liners, you can use those to make small, uniform treats. They help the dough hold together while baking.
- Freezing in Plastic Wrap or Parchment Paper – For a more rustic approach, you can shape the dough into a log or cylinder, wrap it tightly in plastic wrap or parchment paper, and freeze it. Then, once it’s solid, you can slice it into small rounds to bake.
Using an ice cube tray or a muffin tin would be great if you’re going for consistent sizes, but feel free to get creative with the shaping process!
Try this recipe and let me know if your pup gives it two paws up!
Homemade Pumpkin Dog Training Treats
Ingredients
- 1/2 cup Unsweetened applesauce
- 1/4 cup Pumpkin Puree
- 2 tablespoons Peanut butter
- 3/4 cup Wheat flour
Instructions
- Preheat your oven to 350°F (because no one likes waiting for snacks!).
- Mix it up! Stir together the pumpkin, peanut butter, and applesauce in a bowl until it looks smooth and delicious (but resist the urge to taste—it’s for the dog!).
- Add the flour a little at a time until it forms a dough. If it’s too sticky, add a little more flour.
- If using a silicone mold, fill the mold openings using a silicone spatula or spoon since this training treat recipe has a pretty loose consistency.
- Once your silicone cavities are filled, use the side of the spatula to clean off any excess batter off the surface of the mold.
- Bake for 20-25 minutes until they’re golden brown and slightly crisp on the outside but still soft inside.
- Cool completely before letting your pup taste-test. Expect immediate requests for more!
Notes
Tips for Perfect Homemade Dog Treats
-
- Don’t Overmix: Overmixing can lead to tough treats. Mix just until the ingredients are combined and the dough comes together.
-
- Avoid Overbaking: These treats are designed to be soft! Bake for 20-25 minutes until they’re golden on the outside but still soft inside. If you leave them in too long, they’ll get crunchy, which is not ideal for pups with sensitive teeth.
- Cool Completely: Let the treats cool completely before giving them to your dog. This helps them firm up and ensures they hold their shape when you remove them from the mold or tray.

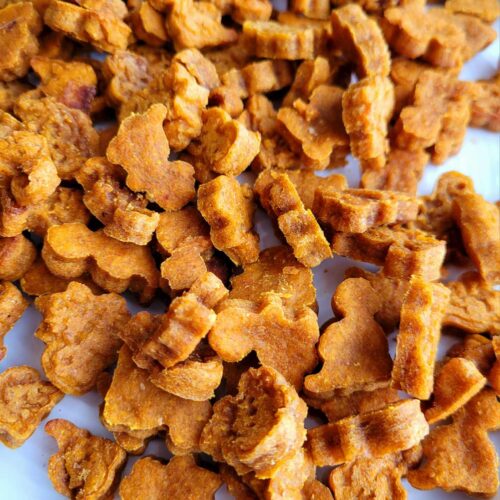
The perfect easy, tasty training treat made with real food ingredients. My dogs love these and so will yours 🙂