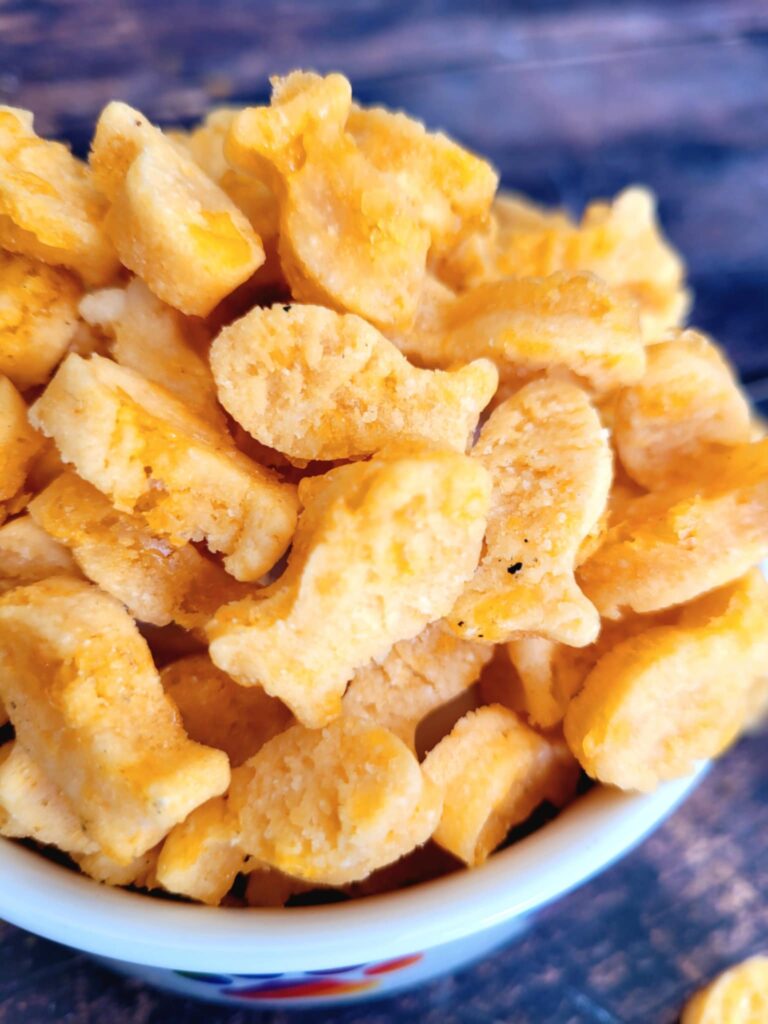
Homemade Cheddar Goldfish Treats for Dogs
Homemade Cheddar Goldfish Treats for Dogs that are cheesy, healthy, and homemade. Tired of boring treats? Make these homemade dog treats for a cheesy snack your pup can’t resist. They’ll be begging for more!
Homemade Cheddar Goldfish Treats for Dogs
Goldfish Cracker Dog Treats: Because Your Dog Deserves Fancy Snacks Too! 🐾🧀
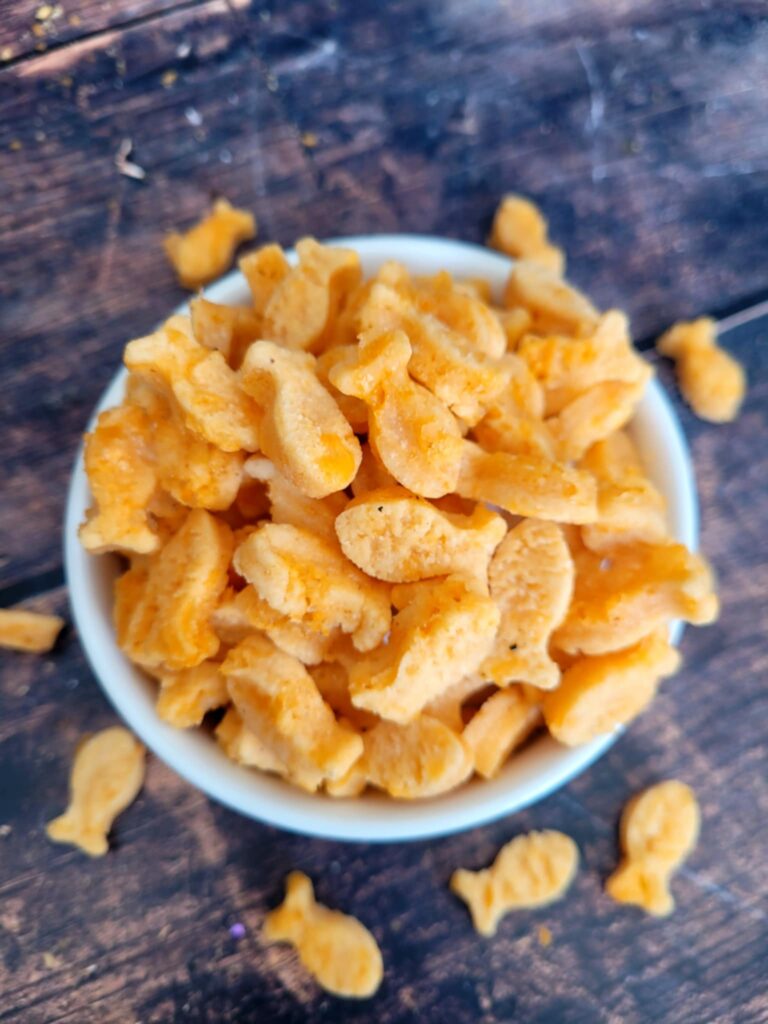
You know those cheesy little goldfish crackers that everyone loves? Well, now it’s your dog’s turn to enjoy them, too! Introducing my homemade dog treat cheddar goldfish recipe.. the paw-fect snack that’s cheesy, crunchy, and totally irresistible!
These treats are healthier than the store-bought kind, with all the bold flavors your pup craves. Bonus: You can customize them into fun shapes (like goldfish, or whatever your heart desires), and your dog will love the surprise bite every time.
Before we dive in, if you’re craving more scrumptious recipes, check out these tasty doggy treats: Peanut Butter & Banana Dog Biscuits and Baked Pumpkin Beet Dog Treats. Your pup will thank you, I promise!
Why These Ingredients Are Important
Cheddar Cheese: Ah, cheddar – our beloved, creamy, tangy friend. It’s not just delicious; cheddar cheese is loaded with calcium, protein, and essential fatty acids that contribute to your dog’s strong bones and shiny coat. Plus, it’s the cheesy delight that makes these treats oh-so-addictive. 🧀🐕 Your dog will go crazy for it!
Oat Flour: You can’t go wrong with oat flour, my friend. Not only is it gluten-free (perfect for sensitive pups), but it’s also rich in fiber, which helps with digestion and keeps your dog’s tummy happy. Plus, oat flour is an excellent source of vitamins and minerals to support your dog’s overall health.
Goldfish Crackers for Dogs (Step-by-Step Instructions)
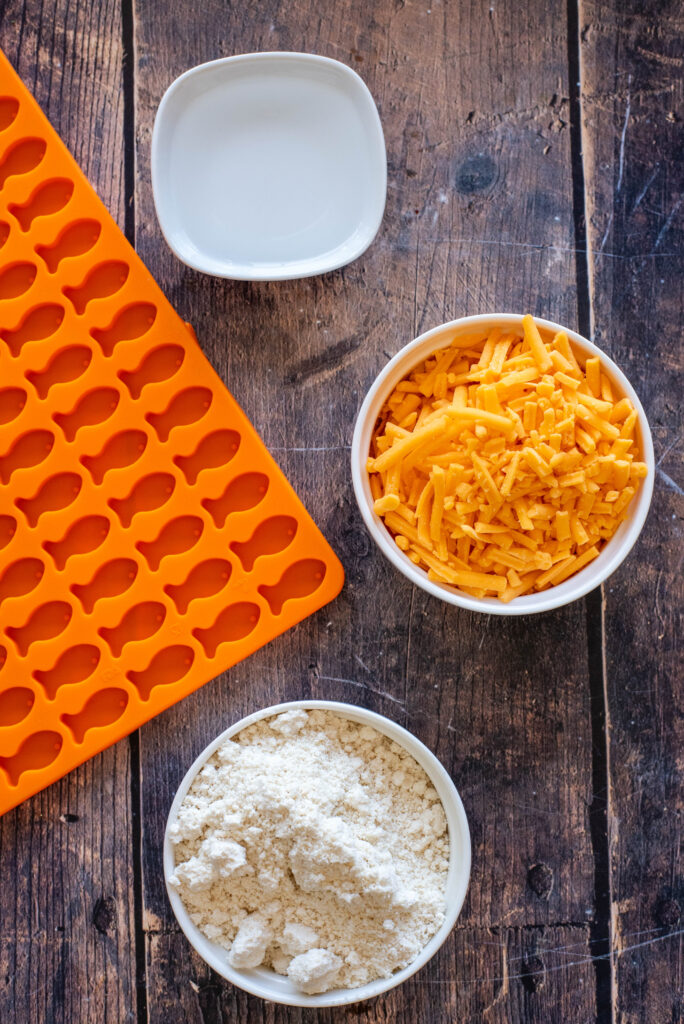
Ingredients:
- 1 cup shredded cheddar cheese (the sharper, the better!)
- 1 cups oat flour (use this to keep things light and fluffy!)
- Water (as needed) .. I use approximately 3 to 4 tablespoons
Instructions:
- Preheat the Oven: Get your oven to a cozy 350°F (175°C). Your treats need a warm home.
- Mix the Cheese & Dry Ingredients: In a bowl, toss together the 1 cup of shredded cheddar cheese and 1 cup of oat flour. The cheese should be nice and shredded, so your dog gets all that melty goodness in each bite.
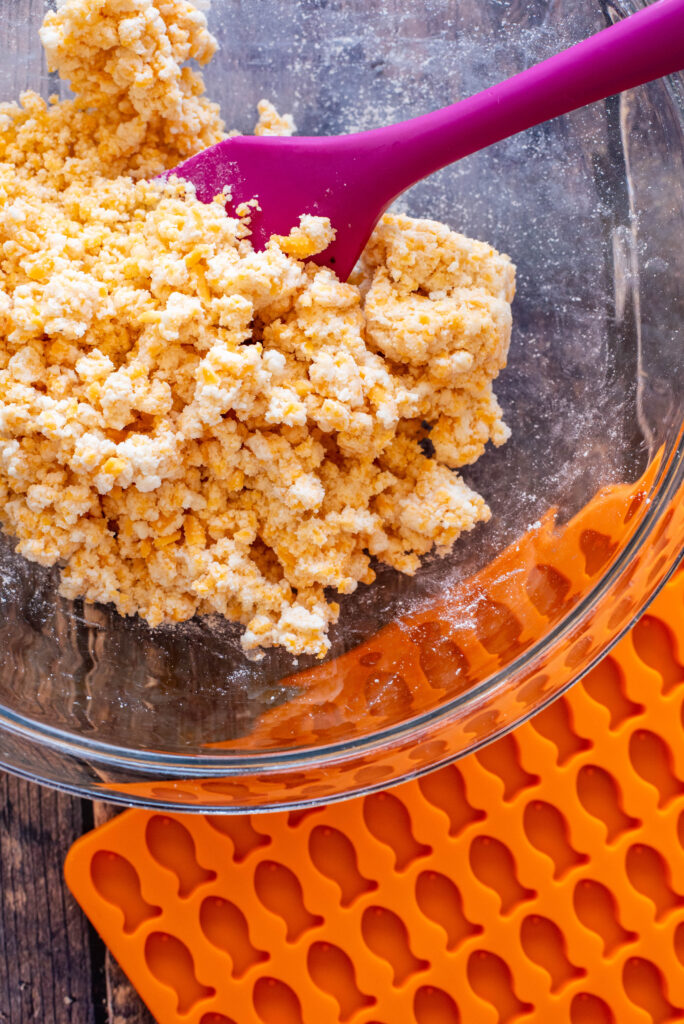
- Add Wet Ingredients: Add a little water, a tablespoon at a time, until it forms a dough that you can roll out and work with… usually 3 to 4 tablespoons of water.
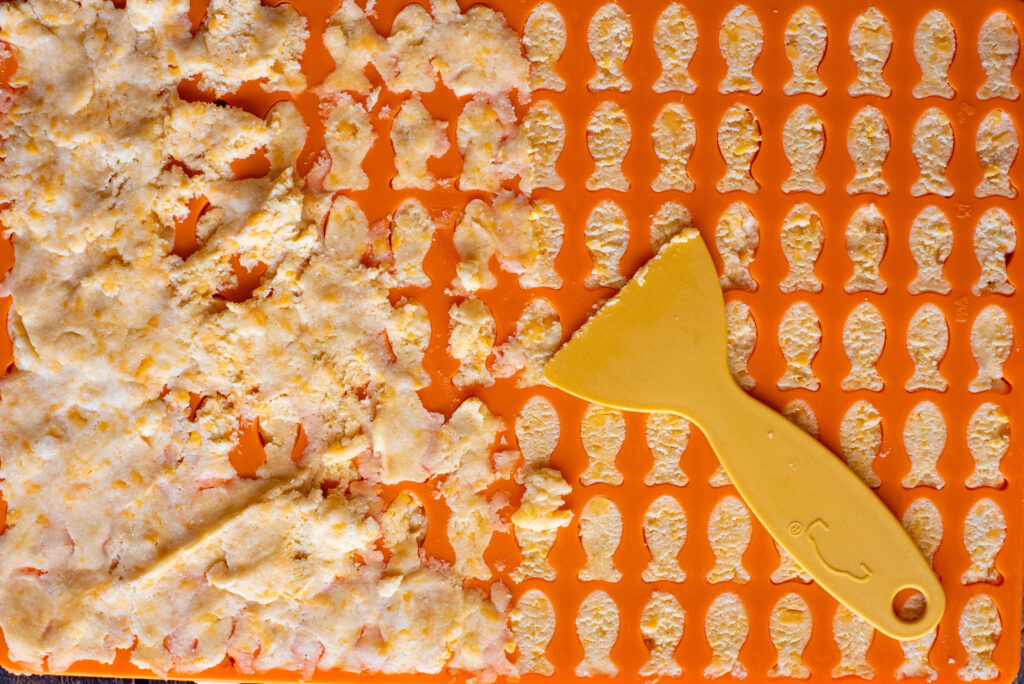
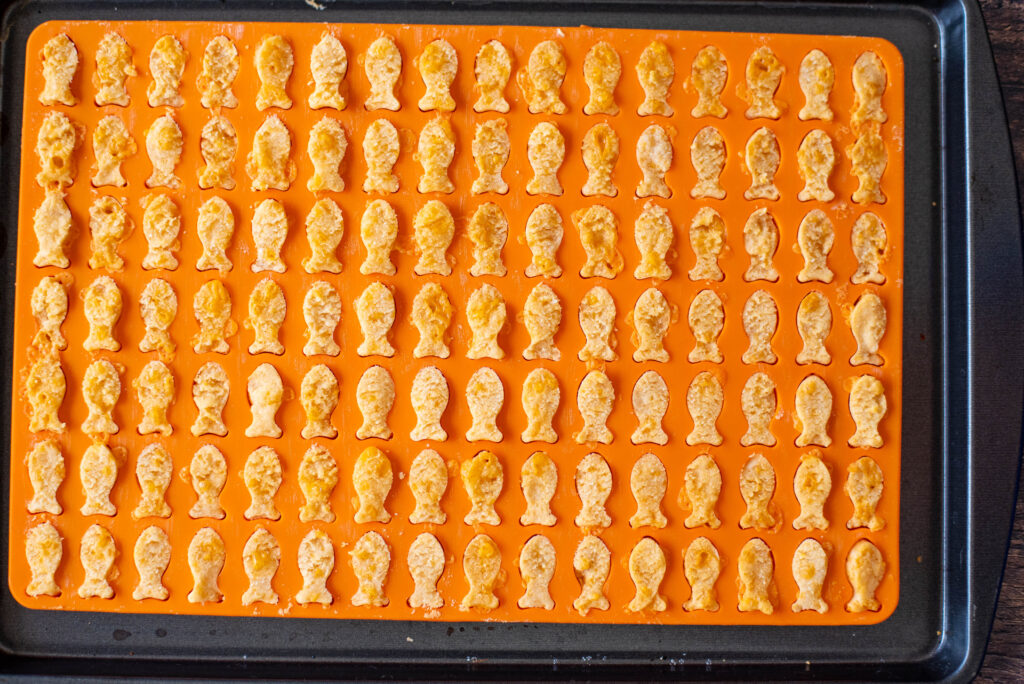
- For Silicone Goldfish Mold: (for that classic shape) Sit your mold on a baking tray (easier to navigate to the oven) and using your hands, press the dough to completely fill up the mold openings. Once your mold is filled, use the back of a knife, a clean un-used putty scraper or the flat end of a spatula to scrape off the excess dough from the mold.
- For Cookie Cutters: Roll your dough out on a lightly floured surface, roll out the dough to about ¼-inch thickness. You don’t want them too thick or too thin, just perfect for crunchy goodness!
- Bake ‘Em Up: Place your treats on a parchment-lined baking sheet and pop them into the oven for about 12-15 minutes. You want them golden brown and crispy, but not burnt.
- Cool & Serve: Let the treats cool completely before serving. Trust me, you don’t want to burn your pup’s mouth with a hot snack. Cool = safe.
- Shape Your Treats: Here’s where the fun begins. Use a silicone goldfish mold or go wild with cookie cutters or even an ice cube tray for fun shapes. Don’t stress over the shape – it’s the taste that counts, and your dog won’t mind if they’re not perfectly goldfish-shaped. Just make sure they’re bite-sized and easy to snack on!
Tips for Best Results
- If you want extra crispy treats, leave them in the oven for an extra 2-3 minutes.
- If you’re using a mold, make sure it’s flexible enough to pop out the treats easily.
- Store these delicious creations in an airtight container to keep them fresh, or freeze them for longer shelf life. Trust me, your dog will love having a stash of treats ready!
How to Make Oat Flour
Don’t have oat flour? No problem! Making it at home is a breeze and so much cheaper than buying it pre-packaged from the store. Simply place rolled oats in a blender or food processor and blend until you have a fine powder. It’s like magic—but better because it’s homemade. 💫
Freezing & Storage
These treats can be stored at room temperature for up to a week. But, if you’re making a big batch (which you should), toss them in the freezer to keep them fresh longer! They’ll stay good for about 3 months in the freezer. Just defrost them before serving your dog. Freeze them in small batches for easy access.. your pup won’t care if they’re frozen. They’ll still gobble them up!
Your Dogs Will Love It!
Let’s be real: Dogs don’t care about calories or fancy words like “nutritious” and “balanced.” They just want tasty treats that make them feel like the stars they are. And trust me, these cheddar goldfish crackers will have your dog doing happy zoomies all over the house!
Want More Delicious Dog Treat Recipes?
- Banana & Peanut Butter Biscuits: Sweet and savory in every bite!
- Carrot & Sweet Potato Bites: Perfect for the health-conscious pup!
Check out these and other recipes here on Bark Belly Bites. Your dog’s taste buds will be throwing a party, and you’ll be their hero. 🦸♀️

Homemade Cheddar Goldfish Treats for Dogs

Ingredients
- 1 cup Sharp Cheddar Cheese, shredded
- 1 cup Oat Flour, see above for DIY oat flour
- 3-4 tablespoons Water
Instructions
- Preheat the Oven: Get your oven to a cozy 350°F (175°C). Your treats need a warm home.
- Mix the Cheese & Oat Flour: In a bowl, toss together the 1 cup of shredded cheddar cheese and 1 cup of oat flour. The cheese should be nice and shredded, so your dog gets all that melty goodness in each bite.
- Add Wet Ingredients: Add a little water, a tablespoon at a time, until it forms a dough that you can roll out and work with… usually 3 to 4 tablespoons of water.
- For Silicone Goldfish Mold: (for that classic shape) Sit your mold on a baking tray (easier to navigate to the oven) and using your hands, press the dough to completely fill up the mold openings. Once your mold is filled, use the back of a knife, a clean un-used putty scraper or the flat end of a spatula to scrape off the excess dough from the mold.
- For Cookie Cutters: Roll your dough out on a lightly floured surface, roll out the dough to about ¼-inch thickness. You don’t want them too thick or too thin, just perfect for crunchy goodness!
- Bake ‘Em Up: Place your treats on a parchment-lined baking sheet and pop them into the oven for about 12-15 minutes. You want them golden brown and crispy, but not burnt.
- Cool & Serve: Let the treats cool completely before serving. Trust me, you don’t want to burn your pup’s mouth with a hot snack. Cool = safe.
- Shape Your Treats: Here’s where the fun begins. Use a silicone goldfish mold or go wild with cookie cutters or even an ice cube tray for fun shapes. Don’t stress over the shape – it’s the taste that counts, and your dog won’t mind if they’re not perfectly goldfish-shaped. Just make sure they’re bite-sized and easy to snack on!
Notes
Tips for Best Results
-
- If you want extra crispy treats, leave them in the oven for an extra 2-3 minutes.
-
- If you’re using a mold, make sure it’s flexible enough to pop out the treats easily.
-
- Store these delicious creations in an airtight container to keep them fresh, or freeze them for longer shelf life. Trust me, your dog will love having a stash of treats ready!
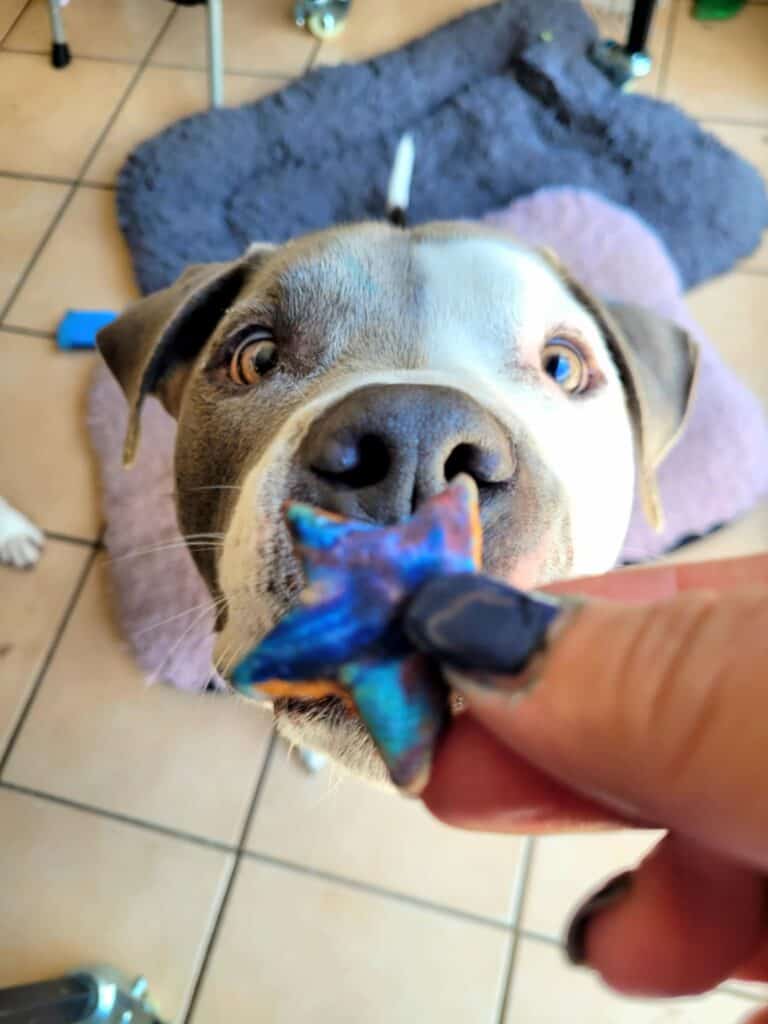
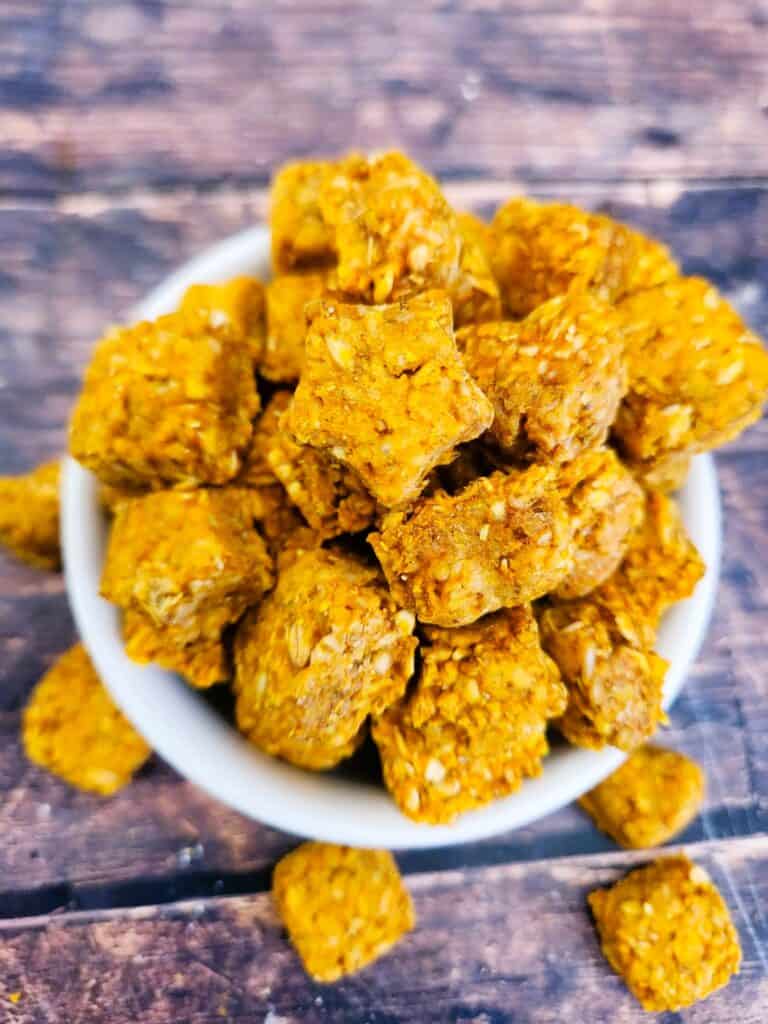
Cheese, crunchy and super freakin’ cute! Best part? My dogs absolutely love them!!